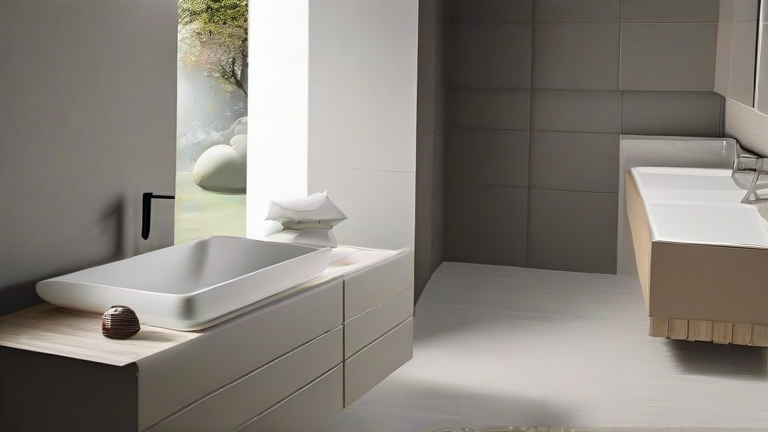
TL;DR: Choose porcelain by checking its translucency, density, and glaze hardness—vitrified porcelain with a PEI rating of 4 or 5 suits high-traffic homes. Always order a physical sample and test it for stain resistance and chipping before committing to a full purchase.
Step 1: Understand the Two Main Porcelain Types
Porcelain falls into two families: glazed porcelain (color printed on top, then sealed) and full-body porcelain (color runs through the entire tile). For floors, full-body is more forgiving—if it chips, the repair is less visible. For walls or backsplashes, glazed porcelain offers more decorative patterns at a lower cost. Ask your retailer which type you are buying; not all “porcelain” is true vitrified porcelain.
If you want to dig deeper, check out our guide on Porcelain Health Guide: Is It Safe? Benefits & Buying Tips.
Step 2: Check the PEI Rating (Wear Resistance)
Look for the PEI (Porcelain Enamel Institute) abrasion rating on the box or spec sheet. PEI 1–2 is for walls only; PEI 3 is for light residential; PEI 4–5 is for kitchens, entryways, and homes with pets or kids. If you’re unsure, choose PEI 5—it costs slightly more but will outlast cheaper options by decades. Avoid unrated tiles from discount stores; they often scratch within a year.
Step 3: Test Water Absorption (The “Density” Trick)
True porcelain has less than 0.5% water absorption. To test at home: flip the tile over, drip a few drops of water on the unglazed back, and wait 10 minutes. If the water beads up or stays pooled, it’s vitrified. If it soaks in and darkens the tile, it’s semi-porcelain or ceramic—bad for bathrooms or outdoor patios. For outdoor use, also check that the tile is rated “frost-proof” to prevent cracking in freeze-thaw cycles.
Step 4: Examine the Glaze and Surface Texture
Run your fingernail across the surface. A hard, smooth glaze should not scratch easily. For slippery areas (bathrooms, pool decks), choose a matte or textured finish with a COF (coefficient of friction) of 0.6 or higher. For countertops, you want a polished glaze but be aware it shows water spots—use a honed finish if you dislike fingerprints. Always ask for the “slip rating” in writing.
Step 5: Always Buy a Real Sample (Not a Photo)
Never choose porcelain from a screen or brochure. Buy a full 12×12-inch sample (not a small swatch) and place it in your room under natural and artificial light. Check it at morning, noon, and night—porcelain’s color shifts dramatically with lighting. Also, test it by dragging a metal key across it (scratch test) and spilling red wine or coffee on it for 30 minutes (stain test). If the sample fails either, reject the batch.
Step 6: Order 10–15% Extra and Verify Batch Numbers
Porcelain dye lots vary between production runs. Order 10% extra for cuts and breakage, and 15% if you have diagonal patterns. When delivery arrives, check that every box shares the same batch number printed on the side. Mixed batches will show subtle color differences on your floor—a common installation horror story. Return mismatched boxes immediately, before installation.
Step 7: Match Grout and Edge Type to Your Use
For floors, use rectified porcelain (edges cut at exact 90-degree angles) so you can use thin 1/8-inch grout lines—this looks premium and reduces dirt traps. For walls, non-rectified tiles with 1/4-inch grout are easier to install. Choose a grout color that is one shade darker than the tile to hide dust; never use white grout
Leave a Reply